MASTERING THREAD ROLLING – SETUP PROCESS

The fourth step in proper rolling is setup of the Process.

Using sacrifice material- program a .600” length to test roll a .500” long part, Insure the material will not hit faceplate.

Pre-turn for rolling = Mean of the Pitch or .465”

30’ chamfer starting at .010” +0.0 -.020’ under the Min. Minor

 Feed rate is Pitch less .001” or a proprietary calculated material dependent amount. Roll on and off at the same federate.

Sync tap (G84) works best. Std Tapping cycles and G34 with M03,04 spindle reverse- no dwell.

SFM- 125 SFM for low carbon steels, 100 SFM for SS and hi-nickel material.
MASTERING THREAD ROLLING – TOOL SETUP

The second step with proper rolling is the Tool Setup.

Mill a .250” to 375” flat on the shank within .500” of the head if not already there.

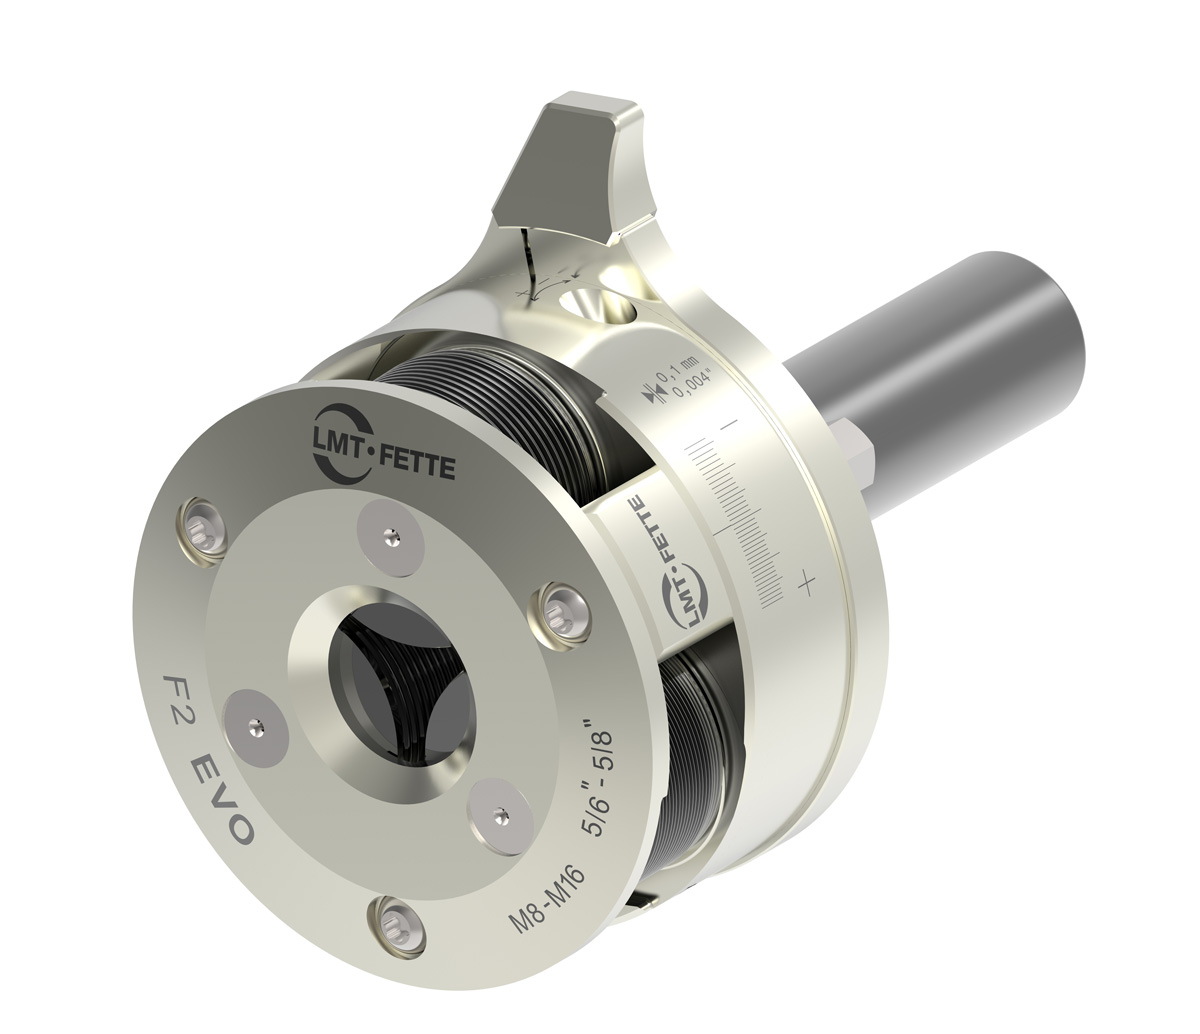
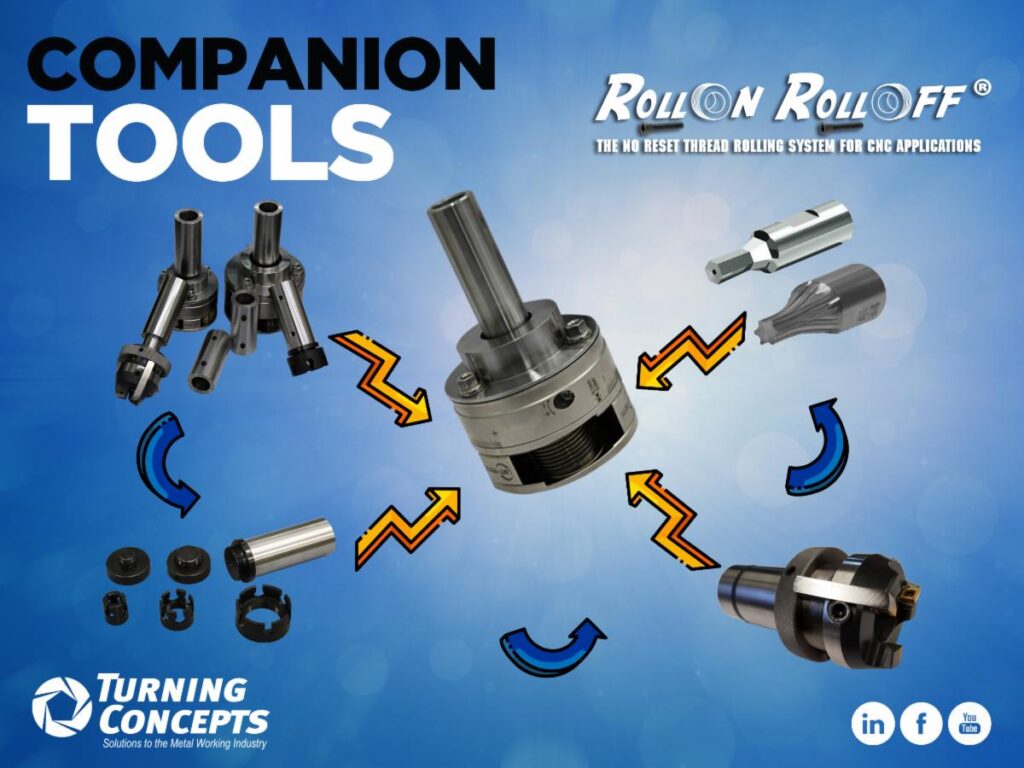
The RORO tool is assembled and setup. The rolls are set with a gauge pin to the max Minor less a proprietary calculated amount based on the material.

MASTERING THREAD ROLLING – MATERIAL PREPARATION

Why is material prep important with thread rolling?

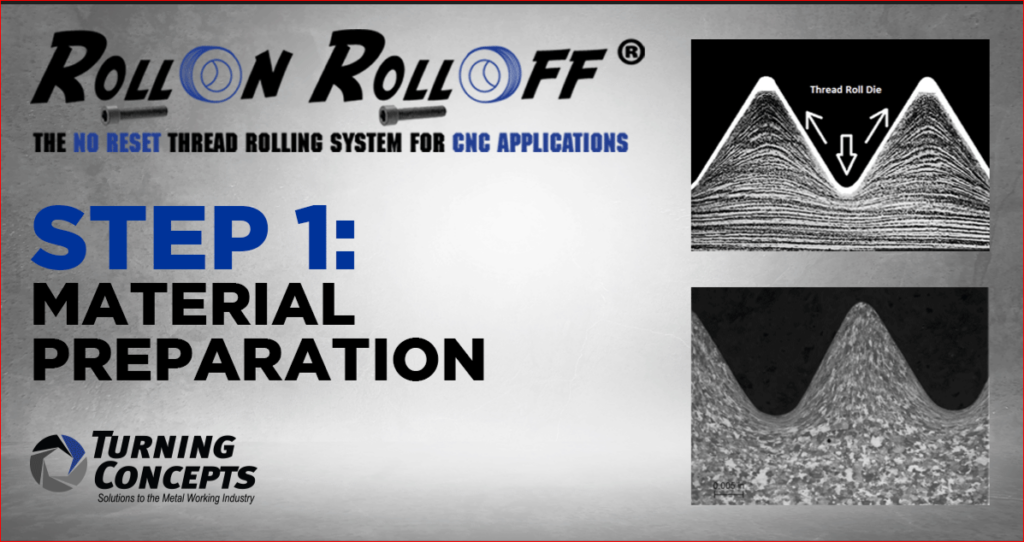
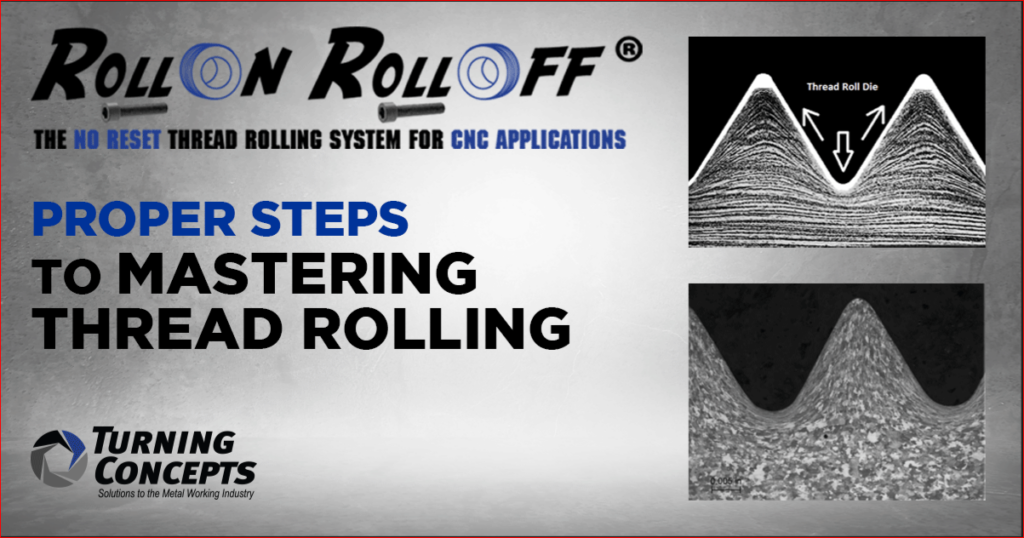
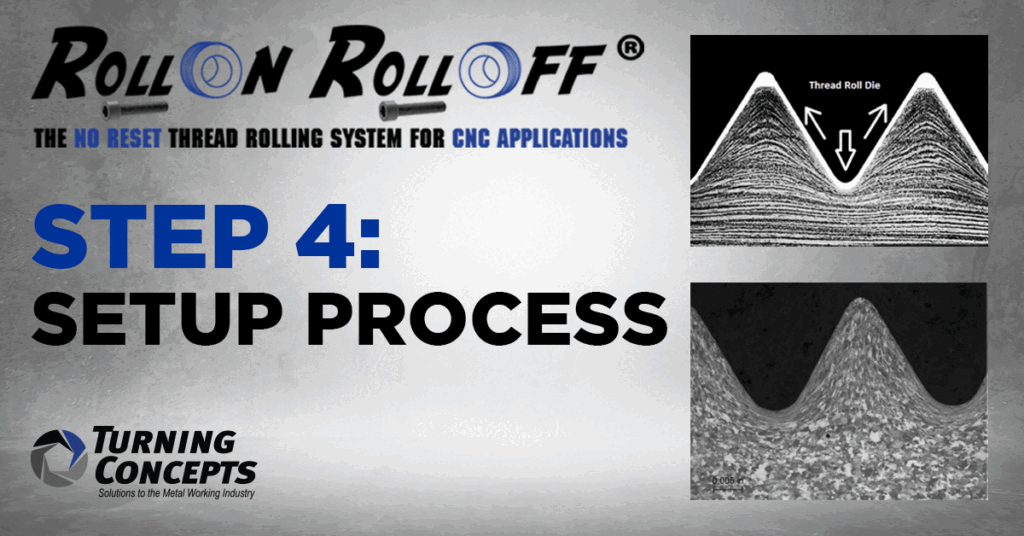
 Thread rolling is a cold forming process and the material goes through a state change. With Axial rolling tools this change normally occurs in the first 2 pitches.

 Material is prepped at the mean of the Pitch based on the class of thread.

 The state change occurs by compressing the material down to the Minor dia then it flows up the roll form and creates the Major.

 The chamfer must start a least .010” below the Min. Minor

 Improper prep results in too much material and risks breaking the rolls

REVIEWING PERFORMANCE OF A THREAD ROLLING TOOL

The long-term performance of a thread rolling tool is directly related to wear of the spindles, bearings, backing plate and face plate of the rolling head. Wear of any components will present initially in pronounced taper of the finished thread.

Older style heads were equipped with needle bearings while newer style heads utilized carbide bushings. The carbide helped to maintain parallel form for longer life cycle than the needles.

Correcting taper generally requires replacing one or more of the contributing components. In a pinch, the straightness is achieved through preparation of a counter tapered part prep. This can squeeze additional life out of the tool without the time and cost of immediate repair or part replacement.

We inspect, evaluate and quote repair cost and time when tool performance becomes questionable, and the inspection is scheduled regarding production needs.